
If you want to personalize your designs and enhance your laser engraving projects, knowing how to import fonts into K6 laser engraver can take your work to the next level. Whether engraving Text or creating intricate designs, fonts are vital in adding that unique touch to your pieces. This guide will walk you through importing fonts into your K6 laser engraver, ensuring your creations stand out quickly and precisely.
Understanding the K6 Laser Engraver
Before diving into how to import fonts into K6 laser engraver, it’s essential to understand the K6 laser engraver itself. The K6 is a versatile and powerful machine capable of engraving and cutting various materials, from wood to acrylic. One of its standout features is its ability to work with multiple design elements, including fonts, which makes customizing your projects a breeze.
Why Fonts Matter in Laser Engraving
Fonts play an essential role in laser engraving. They help convey messages, add artistic flair, and set the tone of your design. Whether engraving a name, a logo, or a custom message, selecting the right font can make a big difference in the final result. This is why knowing how to import fonts into K6 laser engraver becomes crucial for achieving professional-quality work.
Step 1: Choosing the Right Font
The first step in how to import fonts into K6 laser engraver is choosing the right font for your project. There are countless font options available, from elegant scripts to bold and modern types. However, not all fonts are suitable for laser engraving. When selecting a font, consider factors like readability, thickness, and style. Thin fonts may need to be engraved clearly, while overly complex fonts may be difficult for the machine to handle.
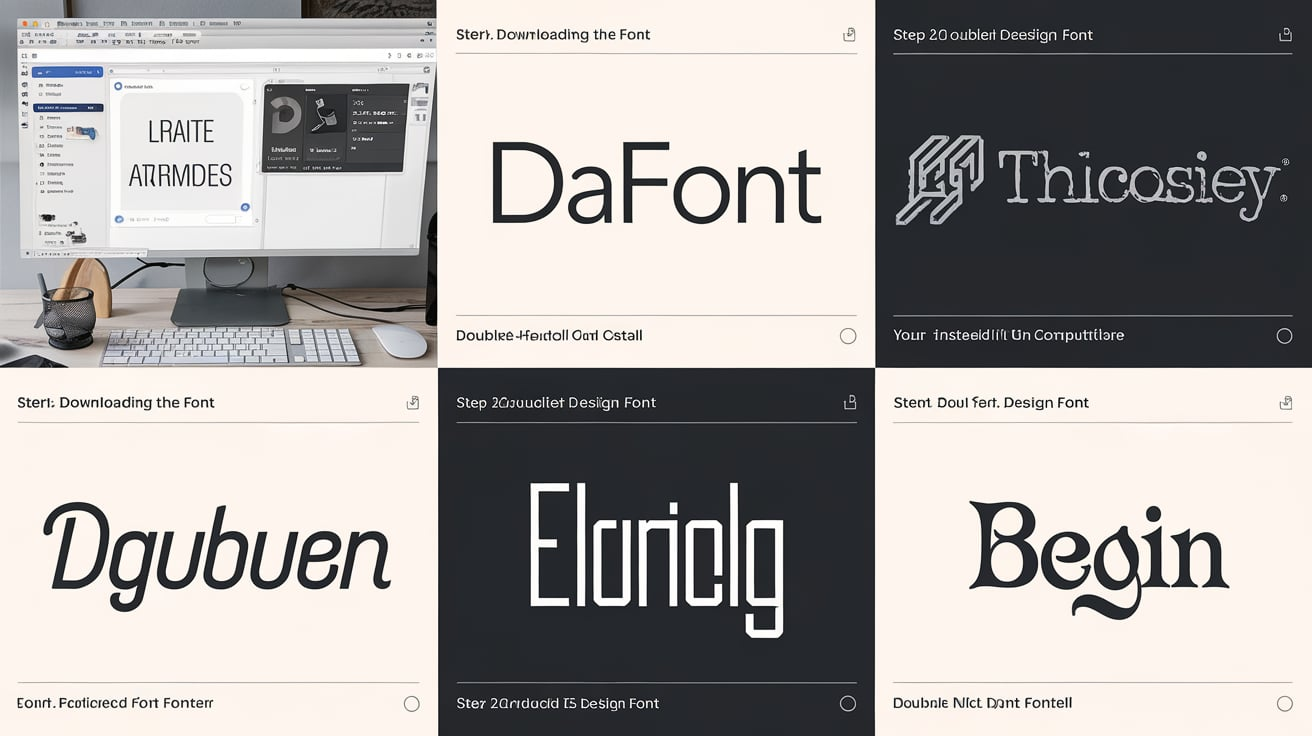
Step 2: Downloading the Font
Once you’ve chosen the perfect font, the next step in how to import fonts into K6 laser engraver is downloading it. Many websites offer free and paid fonts for download. Websites like Google Fonts, dafont.com, and Font Squirrel are popular sources where you can find high-quality fonts. After downloading the font file (usually in TTF or OTF format), save it in an easily accessible folder on your computer.
Step 3: Integrate Fonts into Your Computer System
It must be installed on your computer before you can import the font into your K6 laser engraver software. To install the font, double-click the downloaded file and click the “Install” button. This will add the font to your system’s font library, making it accessible for use in design software.

Step 4: Opening Your Laser Engraving Software
The next step in how to import fonts into K6 laser engraver is to open your engraving software. The K6 laser engraver typically uses software like LaserGRBL or LightBurn. Ensure you have the necessary software installed on your computer and it’s connected to your K6 laser engraver.
Step 5: Accessing the Text Tool
Once your software is open, locate the Text tool. In most engraving software, this is represented by an icon that resembles the letter “T.” This tool allows you to add Text to your design. Initialize Text Editing by Clicking the Text Tool.
Step 6: Selecting the Installed Font
Now that you’ve opened the Text tool, it’s time to choose the font you installed earlier. In the font selection dropdown menu, scroll through the list of available fonts. Your newly installed font should appear alongside the default options. Simply select the font you want to use for your design.
Step 7: Adjusting the Font Settings
After selecting the font, you may need to adjust its size, spacing, and orientation to fit your design requirements. Most laser engraving software allows you to scale the Text, adjust kerning (space between characters), and tweak the font’s positioning. Perfect the Text, ensuring it fits within your engraving area.
Step 8: Preparing the Design for Engraving
Once you’ve created your Text design, it’s time to prepare it for engraving. In the software, you can adjust settings such as power, speed, and resolution. These settings depend on the material you’re working with, so choose appropriate values based on your project.
Step 9: Sending the Design to the K6 Laser Engraver
After adjusting your settings, it’s time to send your design to the K6 laser engraver. Most software allows you to do this via a “Send” or “Start” button. Make sure your K6 laser engraver is correctly connected to your computer, and check that the machine is set up with the correct material.
Step 10: Monitoring the Engraving Process
While the laser engraver is working on your project, monitoring the process closely is essential. Ensure that the engraver is working as expected and make any necessary adjustments to the machine’s settings if you notice any issues.

Troubleshooting Font Import Issues
Sometimes, how to import fonts into K6 laser engraver might go differently than planned.
- Font Not Appearing: If the font you installed isn’t showing up in your software, make sure it’s correctly installed and restart your design software to refresh the font list.
- Font Rendering Issues: If the font appears distorted or unclear during engraving, consider using a simpler font or adjusting the engraving settings to ensure better results.
- Incompatible Fonts: Some fonts, due to their complexity or style, may not work well with the K6 laser engraver. Opt for clear and bold fonts for the best results.
Tips for Best Results with Fonts
To ensure how to import fonts into K6 laser engraver turn out great, keep these tips in mind when working with fonts in the K6 laser engraver:
- Use Simple Fonts: Avoid overly intricate fonts that might cause the engraver to miss details.
- Choose Bold Fonts: Bolder fonts tend to produce more apparent, more defined engravings.
- Test Before Full Engraving: Always test your design on a scrap piece of material to check the engraving quality before starting your final project.
- Adjust Font Size and Spacing: Ensure the Text is the right size and the characters aren’t too close together.

Conclusion
Learning how to import fonts into K6 laser engraver is a valuable skill that will enhance your engraving projects and help you achieve more professional results. Following the steps outlined in this guide, you can easily import and customize fonts, turning your designs into works of art. With the right fonts, settings, and attention to detail, you can create beautiful, customized pieces that stand out.
FAQs
1. Can I use any font with the K6 laser engraver?
Not all fonts work well with the K6 laser engraver. It’s best to use clear, bold fonts that are easy to read and engrave.
2. How do I know if my font is compatible with the K6 laser engraver?
Test the font before starting your main project. Consider using a simpler font or adjusting your settings if the engraving turns out poorly.
3. Can I use custom fonts with the K6 laser engraver?
Yes, you can import custom fonts into the K6 laser engraver, as long as they are installed on your computer and accessible in your design software.
4. What file format should the font be in to import it into the K6 laser engraver?
Fonts should be in TTF (TrueType Font) or OTF (OpenType Font) formats to be compatible with most laser engraving software.
5. How do I fix font issues during the engraving process?
If you encounter issues, try adjusting the software’s font size, spacing, or settings. Also, check for any installation issues with the font itself.